- Partners
- Contact Us
- Log in
How to Schedule a Text Message on iPhone? Easy Methods & Tips

Scheduling a text message on your iPhone can be incredibly helpful, whether it’s for sending birthday wishes on time, following up with a client, or reminding someone of an important task. But many iPhone users aren’t sure if this feature exists or how to use it.
With iOS 18, Apple finally introduced a built-in “Send Later” option for iMessages. However, if you're using an older iOS version, you won’t find this feature in the Messages app. Fortunately, you can still schedule texts using the Shortcuts app or set reminders to send them manually.
In this guide, we’ll show you how to schedule a text message on iPhone using all available methods and share simple tips to avoid common mistakes.
Highlights:
iOS 18 users can schedule iMessages using the built-in Send Later feature in the Messages.
If you're using iOS 17 or earlier, you can still schedule texts using the Shortcuts app or set a manual reminder through the Reminders app.
For more advanced scheduling, like sending MMS, bulk messages, attachments, or business texts, platforms like Calilio provide a better alternative.
Always double-check the recipient, message content, date, and time, and ensure your device is connected to the internet (for iMessage scheduling).
Can You Schedule a Text on an iPhone?
Yes, you can schedule messages on an iPhone just like how you can schedule a call. With iOS 18, Apple introduced the “Send Later” feature in the Messages app, allowing users to schedule iMessages to be sent automatically at a specific time.
If you're using an older iOS version, you can still schedule texts using the Shortcuts app, which lets you automate sending an SMS at a time you choose.
Once the scheduled message is sent, the recipient will receive it like a normal message. They won't see any indication that it was pre-scheduled or automated.
How to Schedule a Text Message on an iPhone?
You can schedule a text on your iPhone in several ways. The easiest is using the built-in Send Later feature available in iOS 18 and newer versions. If you're using an older version of iOS, you can use the Shortcuts app to automate sending a message.
Alternatively, you can use the Reminders app to notify you at a specific time so you can manually send the message.
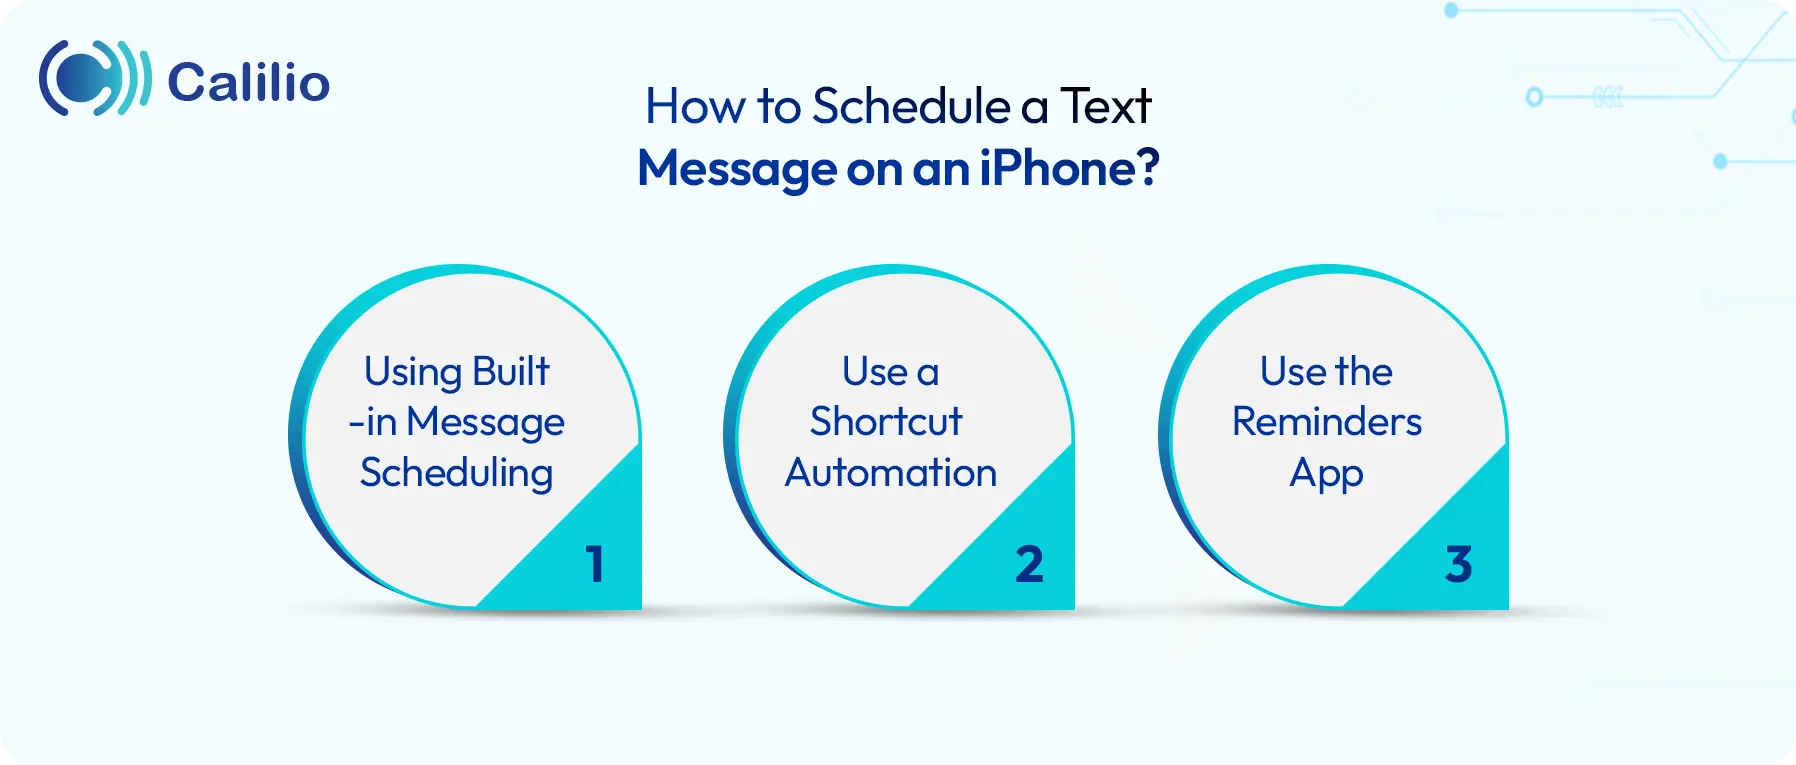
1. Using Built-in Message Scheduling
Users with iOS 18 and newer versions can schedule an iMessage on iPhone through its built-in Messages app using the “Send Later” feature.
Here’s how to schedule an iPhone text message using the built-in scheduling feature:
- Go to the Messages app on your iPhone.
- Go to the conversation for which you want to schedule a message or start a new conversation.
- Type your message and tap the + icon next to the text field.
- Select Send Later.
- Tap the time option. Pick your preferred date and time, and then tap Schedule.
- Once it’s set, the message box will show a dashed outline, and the scheduled send time will appear above the message.
Note: The Send Later feature only works for iMessages, which means both you and the recipient must be using an iPhone, iPad, or other Apple device with iMessage enabled. This method cannot be used to schedule SMS texts to Android phones or other non-Apple devices. If you want to schedule a regular SMS, you’ll need to use the Shortcuts app.
2. Use a Shortcut Automation
If you’re using iOS 17 or an earlier version, you can schedule messages using the Shortcuts app, which comes preinstalled on most iPhones. If the app isn’t already on your device, you can easily download it from the App Store.
Here’s how to schedule SMS on iPhone using a Shortcut automation:
- Open Shortcuts and go to the Automation tab.
- Tap Create Personal Automation.
- If you have already created an automation, the option is not available. In this case, first tap on the + icon and select Create Personal Automation.
- Choose Time of Day and set when you want the message to be sent.
- Select the time, date, and frequency (monthly, weekly, or daily). Tap Next.
- Pick Add Action, search for Send Message, and select it.
- Choose a contact, type your message, then tap Next.
- Review the automation and turn off Ask Before Running so it sends automatically.
- Tap Done to save.
Note: This method for scheduling a text on iPhone sends the message repeatedly based on the frequency you choose. If you're only sending it once or for a specific event, make sure to delete the automation after the message is delivered.
3. Use the Reminders App
If creating an automation feels time-consuming, using the Reminders app is a simpler alternative.
While the Reminders app can’t send messages automatically, it can notify you at the right time so you can manually send your text. It’s not a true scheduling tool, but it’s a useful workaround to make sure you don’t forget to send important messages.
Here’s how to set up a reminder on an iPhone:
- Go to the Reminders app and tap New Reminder.
- Customize the reminder name.
For example: Send text to Dad - Click on Details.
- Set the date and time, then tap Add.
Once you receive the reminder, you can go to the Messages app and send your text message.
Calilio: A Smarter Alternative to iPhone’s Native Scheduling
While Apple’s built-in scheduling feature is useful, it comes with limitations. It only works with iMessage, cannot send scheduled texts to Android users or non-Apple devices, and doesn’t support bulk messaging or multimedia scheduling for business use.
That’s where Calilio becomes a better alternative.
Calilio is a cloud-based telephony platform designed for both personal productivity and business communication. It allows you to schedule SMS, MMS, voice notes, images, emojis, and even bulk messages, all from a single dashboard.
Unlike iMessage, Calilio doesn’t rely on your device’s SIM card or Apple ecosystem. Instead:
- Messages are sent using the virtual phone number linked to your Calilio account.
- You can schedule texts to any device.
- It works even when your phone is turned off, offline, or not in your hand.
However, it’s important to note that Calilio does not send messages through the iMessage app or your physical SIM card. All communications are sent via your cloud-based business number.
This makes Calilio a perfect choice if you want more control, wider reach, better reliability, or advanced features beyond what iPhone’s native scheduling offers.
Here’s how to schedule a text message on your iPhone using Calilio:
- Step 1: Sign up or log in to your Calilio account and purchase a virtual phone number.
- Step 2: From the left sidebar, select Numbers to view the phone numbers linked to your account.
- Step 3: Click on Conversations to access your existing chats.
- Step 4: Choose the chat for which you want to schedule your message.
- Step 5: In the message box at the bottom, type your message. You can include text, emojis, voice recordings (pre-recorded or using the microphone icon), and images.
- Step 6: Click the downward arrow (˅) next to the Send button to open scheduling options such as 5, 15, or 30 minutes, 1 hour, or a custom date and time.
- Step 7: Select one of the preset times, or choose Custom to set a specific date and time.
- Step 8: If you select Custom, a Schedule Message window will appear where you can choose the desired date and time.
- Step 9: Click Schedule Message to confirm your settings.
Your message is now scheduled. A confirmation notice will appear, showing the number of messages waiting to be sent.
Tips to Avoid Common Mistakes When Scheduling Messages on iOS
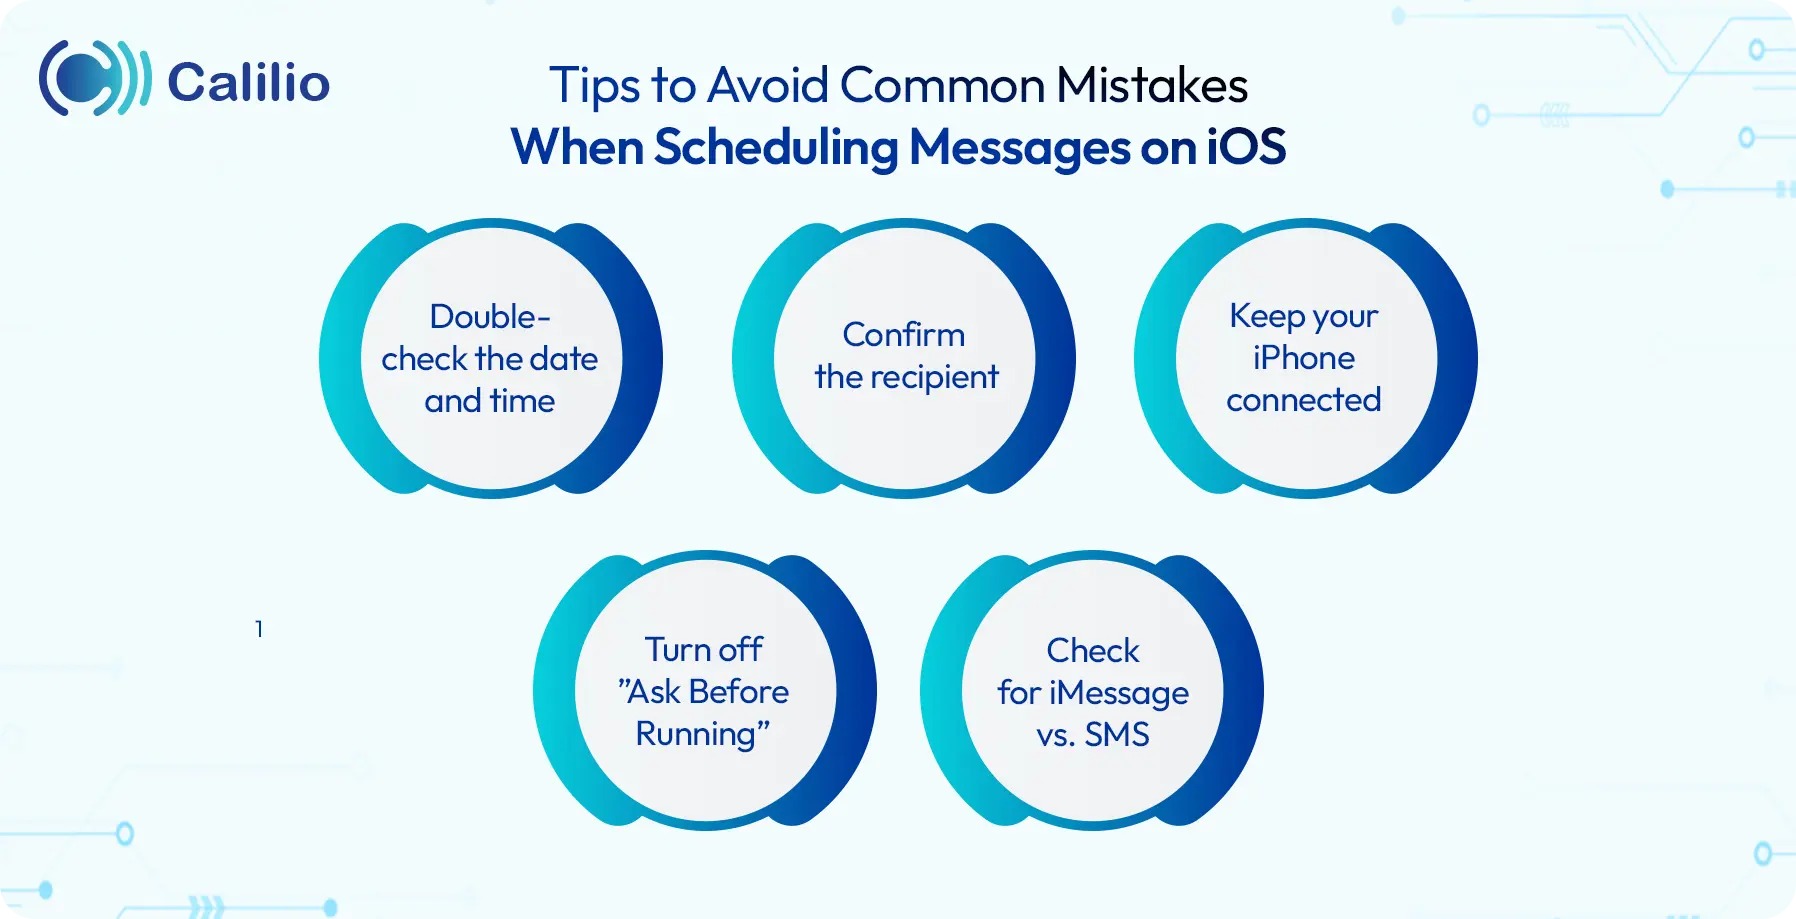
- Double-check the date and time: Make sure you’ve selected the correct time before confirming, ideally within the recipient’s business hours.
- Confirm the recipient: Double-check the contact name, number, or email address before scheduling your message.
- Keep your iPhone connected: If you’re scheduling an iMessage, make sure your phone is connected to the internet.
- Turn off “Ask Before Running”: If you’re using the Shortcuts app, make sure “Ask Before Running” is disabled; otherwise, the message won’t send automatically. It will require your confirmation before the message is sent.
- Check for iMessage vs. SMS: The “Send Later” feature works only when sending an iMessage to iOS devices. To schedule a message from iPhone to Android, consider using Shortcuts for automation or reminders to receive a notification to send a text at the right time.
Final Thoughts
Scheduling messages on your iPhone can save time and help you stay organized, whether using the built-in Send Later feature, the Shortcuts app, or the Reminders app. These methods work well for basic personal messages, but if you need more flexibility, like sending multimedia, bulk texts, or automated follow-ups, Calilio is a smarter solution.
Calilio lets you manage and schedule messages from a single dashboard, sending them reliably through your virtual business number, not iMessage or your SIM card. This ensures your messages reach recipients on any device at the right time. With plans starting at just $15/month, Calilio also includes advanced features like SMS filters, call forwarding, call routing, and voicemail transcription, making it ideal for both personal and professional use.

Summarize this blog with:
Frequently Asked Questions
Why can’t I schedule messages on my iPhone?
If you don’t see the message scheduling option, your iPhone is likely running on iOS 17 or an earlier version. In this case, you can use the Shortcuts app and create an automation to schedule text. Also, you may use Calilio, a VoIP platform that allows you to send scheduled texts using the number linked to Calilio.
How far can you schedule a text on an iPhone?
Will the recipient know the message was scheduled?

Still have questions?
Can’t find the answer you’re looking for? Please chat with our friendly team.
Stay in the loop
Get the latest call insights, trends, and updates delivered straight to your inbox.
By subscribing, you agree to receive updates from Calilio.
You can unsubscribe anytime.
Enter the World of AI Business Phone System with Calilio
Improve your business operation with Calilio's advanced virtual phone system. Join today for a better way to connect.